Canon PIXMA TS6420/TS6420a Wireless Setup
How to Set Up Your Canon PIXMA TS6420/TS6420a Wireless Printer
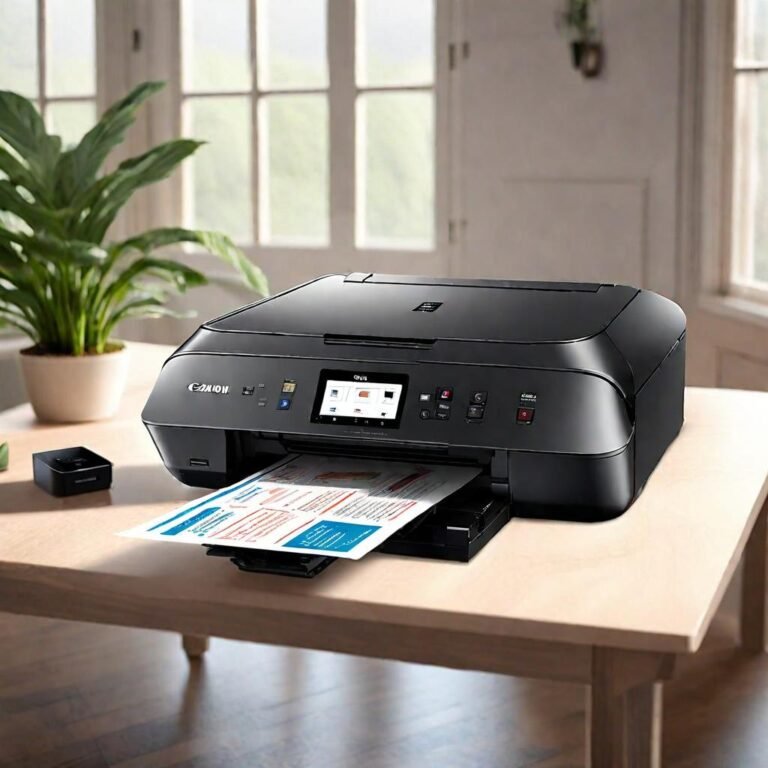
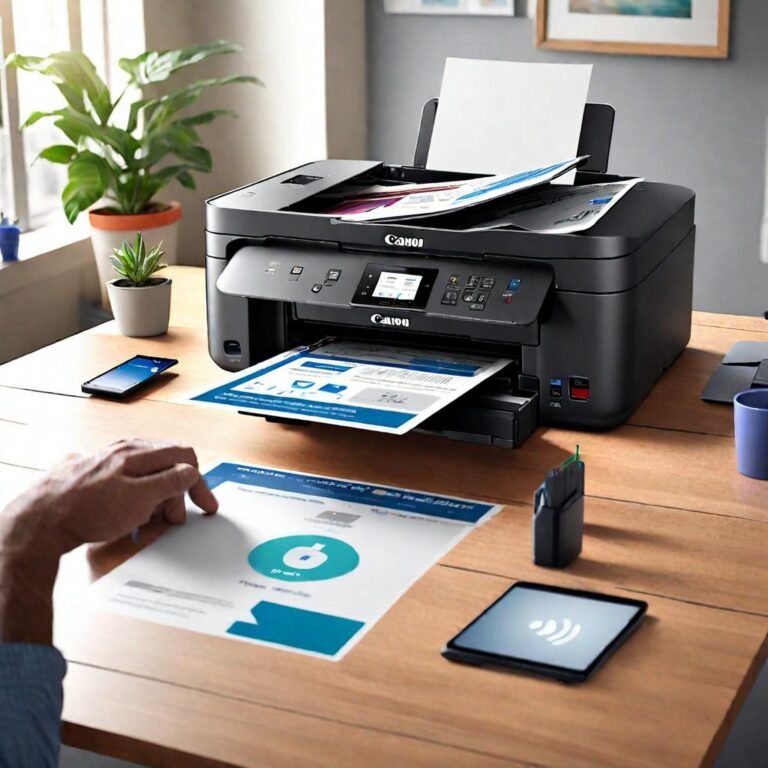
The Canon PIXMA TS6420/TS6420a is a versatile and user-friendly all-in-one printer that allows you to print, scan, and copy effortlessly. Setting it up for wireless printing will enable you to print from various devices without the need for cables. Follow these steps to connect your Canon PIXMA TS6420/TS6420a to your wireless network.

Step 1: Unbox and Power Up
- Unbox the Printer: Carefully unpack your Canon PIXMA TS6420/TS6420a printer. Make sure you have all the components: the printer, power cord, ink cartridges, and setup CD.
- Power On: Connect the power cord to the printer and an electrical outlet. Press the power button to turn on the printer.
Step 2: Install Ink Cartridges
- Open the Ink Access Door: Lift the ink access door located on the front of the printer.
- Insert Cartridges: Install the ink cartridges that came with your printer. Make sure each cartridge clicks securely into place.
- Close the Door: Close the ink access door and wait for the printer to initialize the ink system.
Step 3: Load Paper
- Open the Paper Tray: Pull out the paper tray located at the bottom of the printer.
- Load Paper: Place a stack of plain paper in the tray, adjusting the guides to fit the paper size.
- Close the Tray: Push the paper tray back into the printer.
Step 4: Download and Install Drivers
- Visit Canon’s Website: Go to the Canon support website and search for the PIXMA TS6420 or TS6420a.
- Download Drivers: Download the latest drivers and software for your printer model.
- Install Software: Follow the on-screen instructions to install the printer drivers on your computer. This may involve connecting the printer to your computer with a USB cable initially.
Step 5: Connect to Wi-Fi
- Open Settings: On the printer’s touch screen, go to the Home menu and select “Wireless LAN setup”.
- Choose Connection Method: Select “Easy Wireless Connect” and follow the on-screen instructions. The printer will display a message to follow instructions on your computer or mobile device.
- Run the Setup Program: On your computer, run the setup program you downloaded earlier. The program will search for your printer.
- Select Network: Choose your Wi-Fi network from the list and enter the password when prompted.
- Complete Setup: Follow the remaining on-screen instructions to complete the wireless setup.
Step 6: Print a Test Page
- Print Test Page: Once the setup is complete, print a test page to ensure the printer is connected to the network and working properly.
- Check Connectivity: If the test page prints successfully, your Canon PIXMA TS6420/TS6420a is now set up for wireless printing.
Troubleshooting Tips
- Connection Issues: If the printer cannot find your Wi-Fi network, make sure the router is turned on and within range.
- Re-enter Password: Double-check that you’ve entered the correct Wi-Fi password.
- Restart Devices: Restart your printer, router, and computer if the setup process fails.
Conclusion
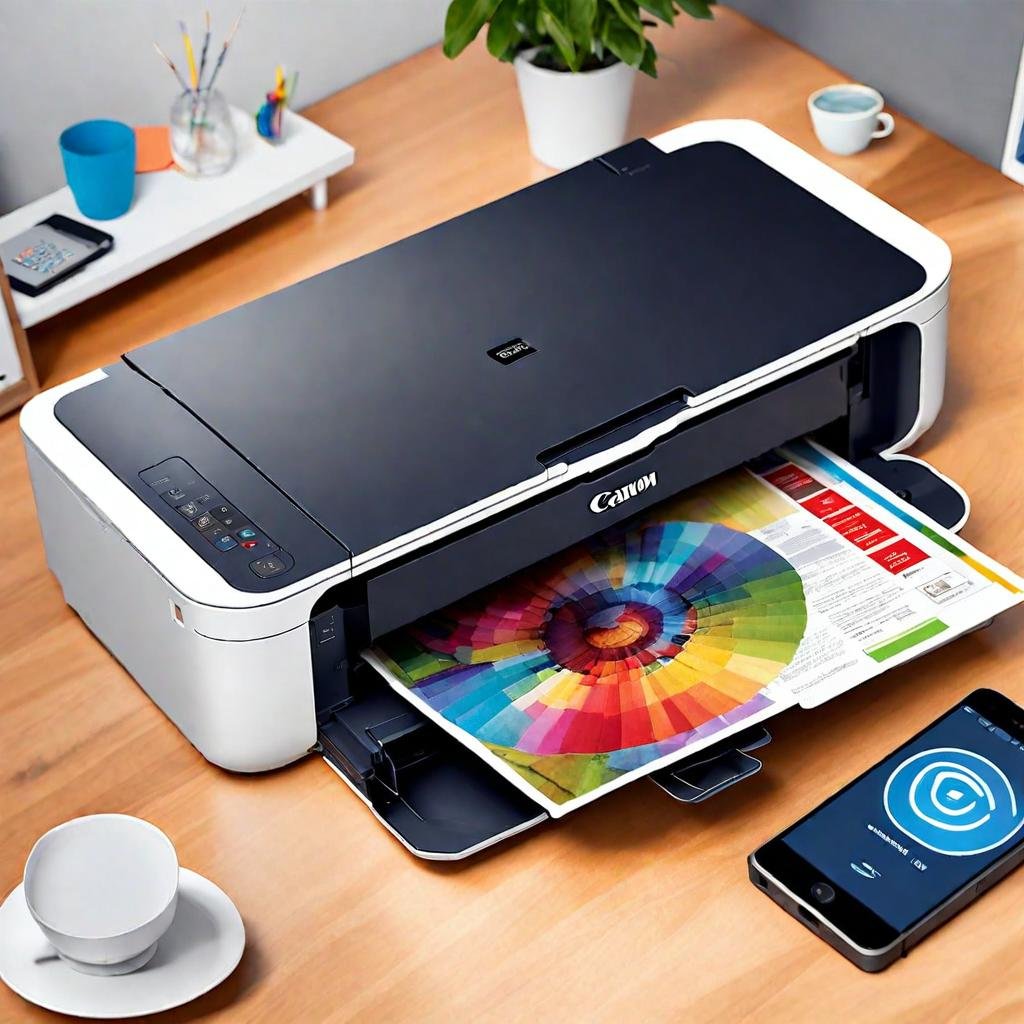
Setting up the Canon PIXMA TS6420/TS6420a for wireless printing is a quick and easy process if you follow these steps. Once connected, you’ll be able to print from any device on your network, making your printing tasks more convenient and efficient. Enjoy the flexibility and high-quality output that the Canon PIXMA TS6420/TS6420a offers.